

5 Tips for Shooting Beautiful Black and White Photography
by Gordon Kamitomo
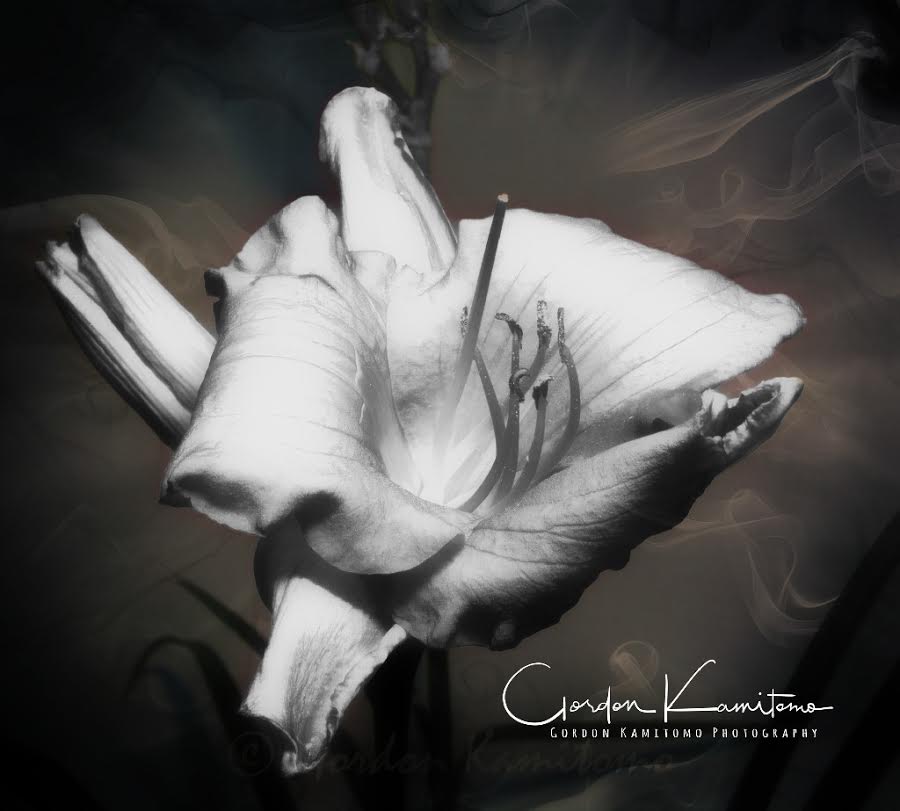
Image: Gordon Kamitomo Photography
Take Color out of the Equation in Photography
If you take color out of the equation in photography, new images emerge. We live in a world of color. As photographers, we take multiple photographs within various scenarios and under different lighting conditions. For a beginner or serious amateur, lighting and exposure can make or break a shot, but what happens when we visualize in black and white first?
1. Visualize your Photographs in Black and White
Try to visualize your photo in black and white. Snoop around the area you are in before you stop and shoot. I’ve gotten a surprising number of photographs along the way to a destination. Last year, I was on a quest to increase the landscape side of my portfolio and because I’m very fortunate to live close to the Foothills and Rocky Mountains, exploring outside of the major centres opened my mind to the types of photographs I want to capture this year. Certain landscapes can look even more profound in black and white.
2. The Wonderful Effects of Black and White Photography
When visualizing in black and white first, other factors become more important. From the content side, you now have contrast and tones/gradation/textures that need to be emphasized. Composition becomes more important and I believe content is more critical, but that is what photography is about! The bottom line is if you get a good shot in black & white, it will increase your awareness of the impact of lighting, exposure and content.
High impact black and white photography tends to work the best when you have high contrast, however, subject matter that has more even lighting may lend itself well to sepia or an antiquing effect. As you advance and learn, it will become easier to determine how a photograph looks with certain effects. There will be times when a black and white photo isn’t immediately obvious.
The following color photograph of an historical building is a perfect example.

Image: Gordon Kamitomo Photography
When I added a slight sepia tone to reflect the age of the building, it now has the appearance of an antique photograph.
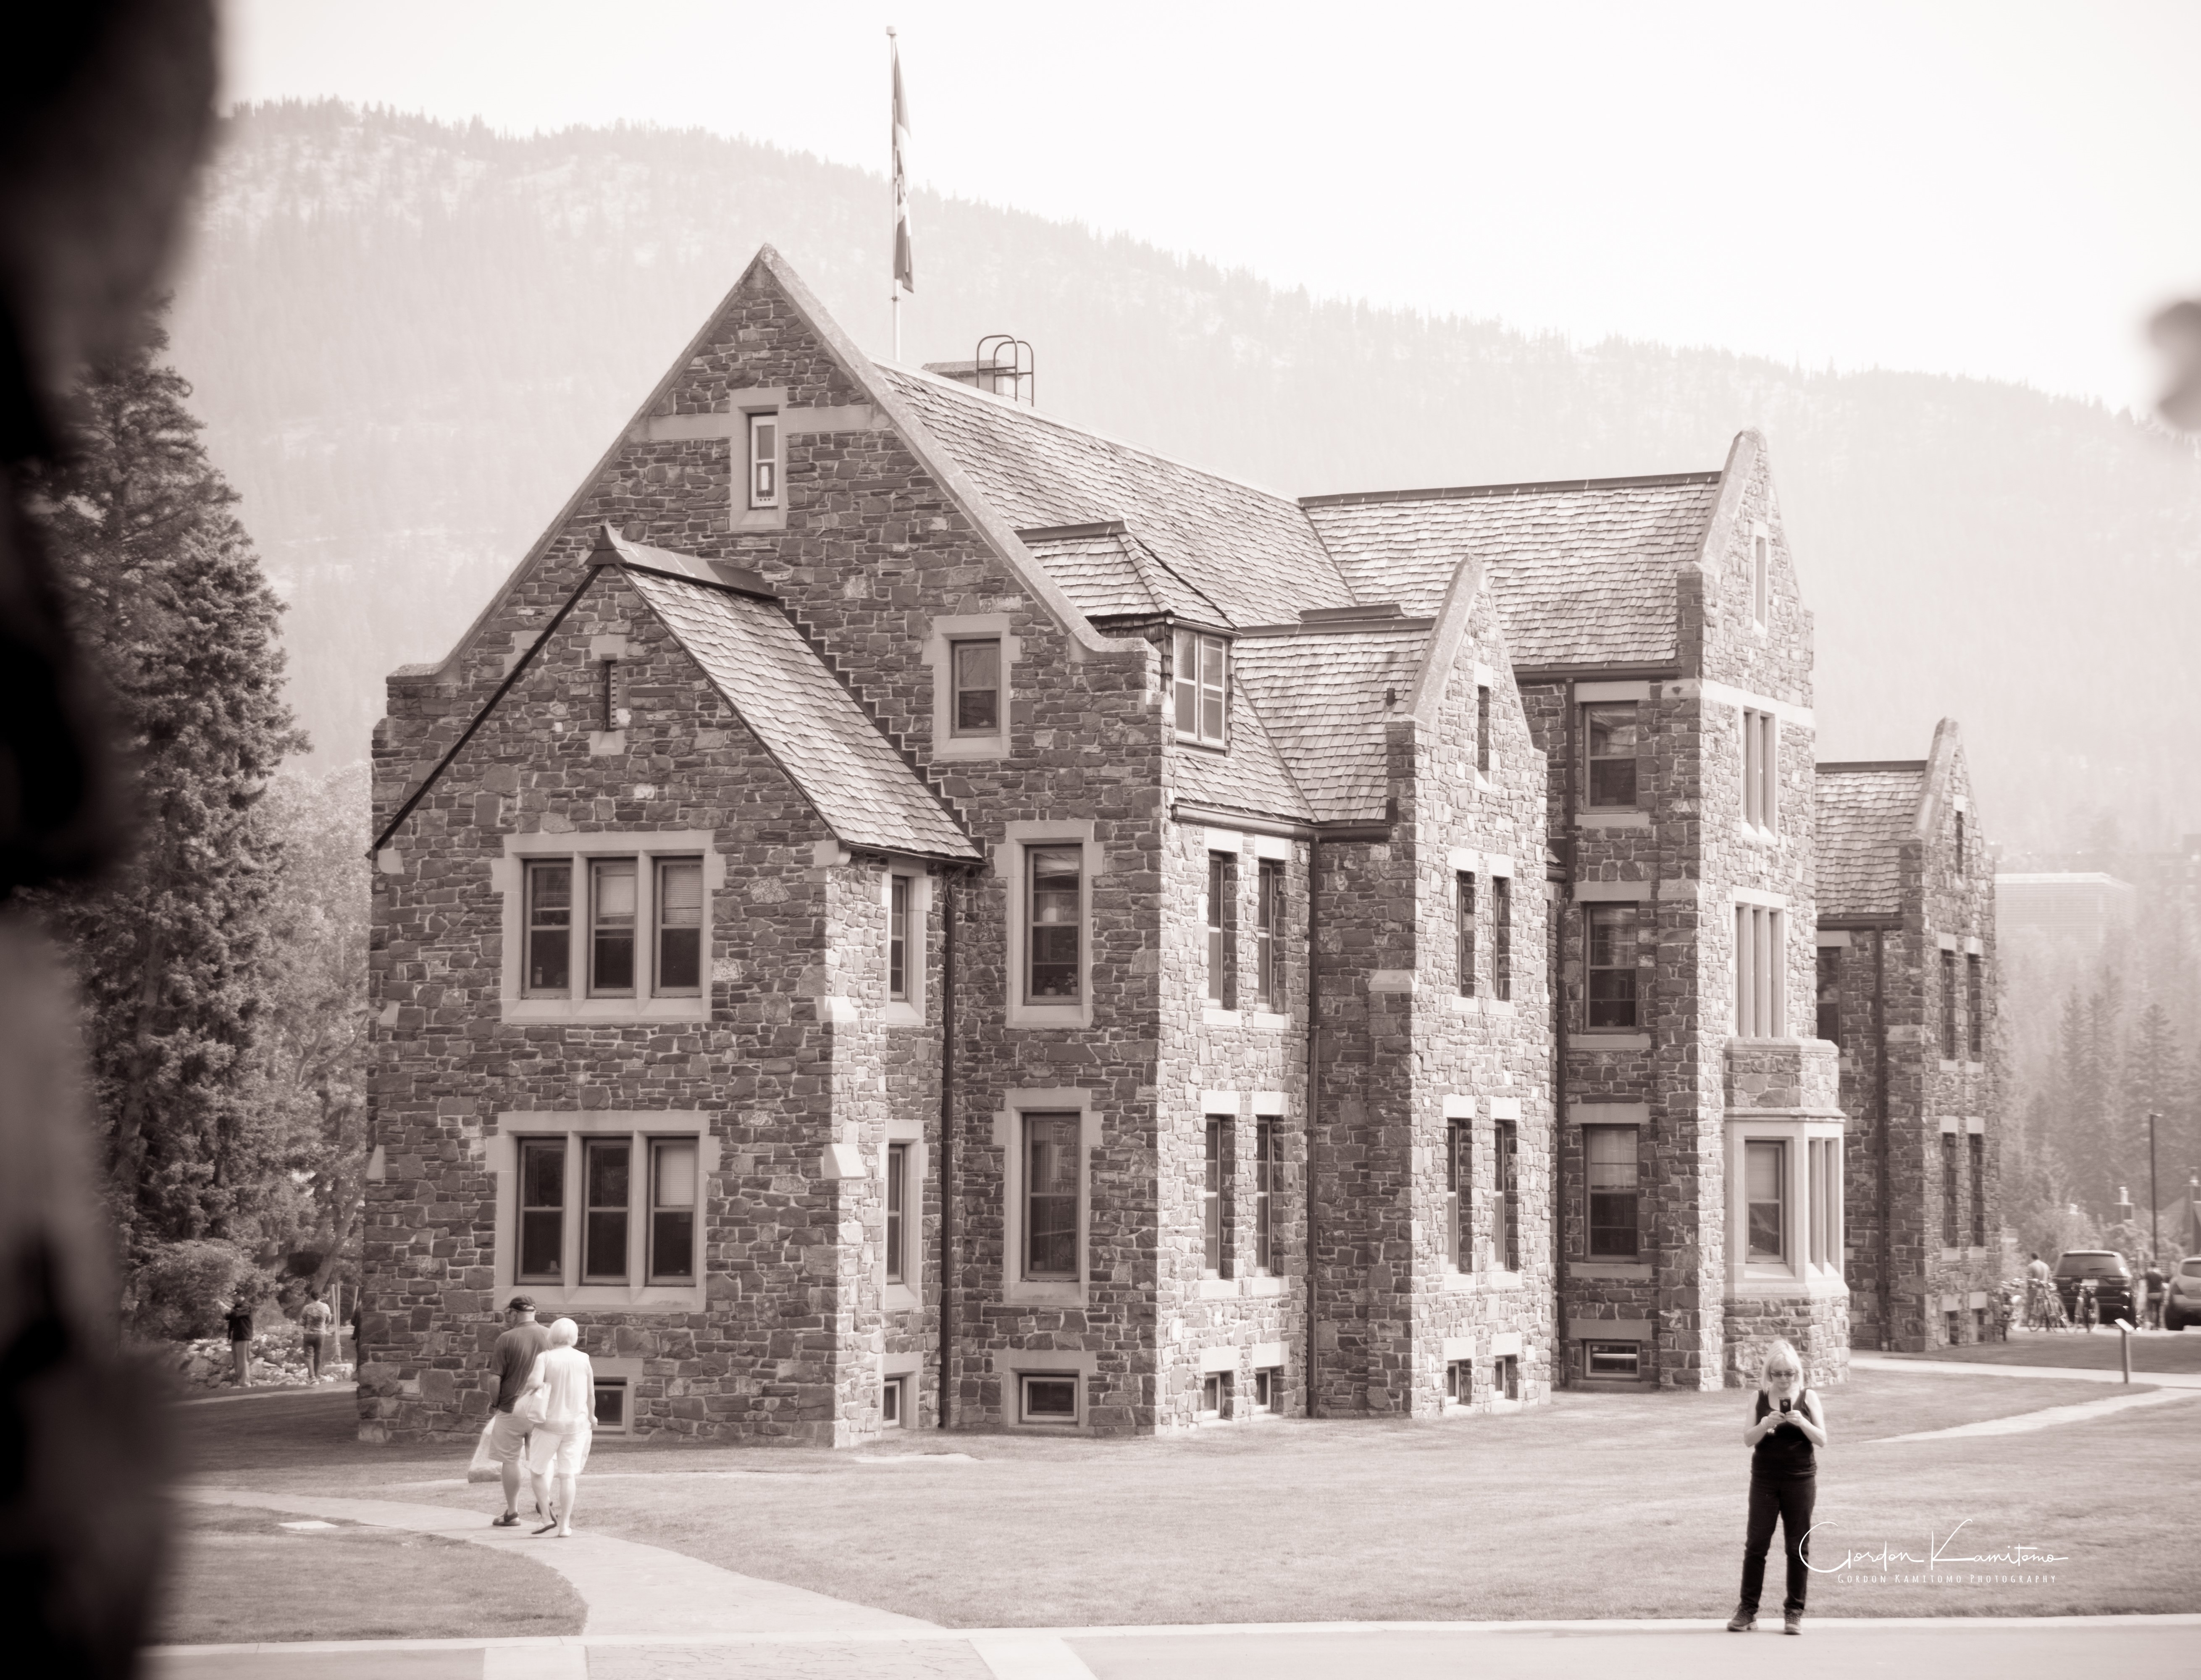
Image: Gordon Kamitomo Photography
3. In Camera or Not in Camera, That is the Question
This is an area of contention. Camera’s today have the ability to take the original photo in monochrome mode. The bigger question is, should you do this? I would rather not fiddle with camera modes when concentrating on content while frequently switching locations, which is something I do for subjects like flowers and landscapes.
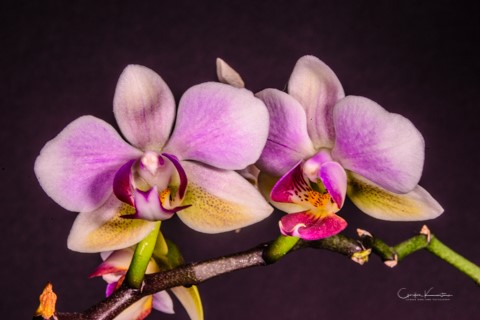
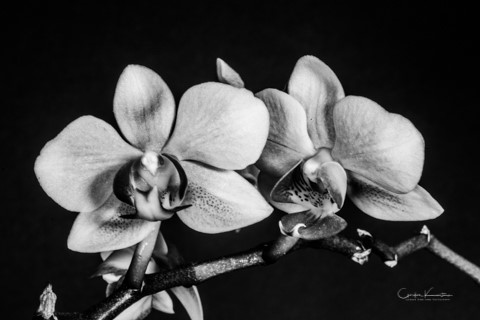
However, if you are shooting in JPEG, it becomes a little more critical. Like many photographers, I tend to see color first and will take a color photo and convert it in post. The majority of my brand work which is flowers tend to be vibrant, vivid colors with high contrast, so black and white is an easy switch in post. You know when you have those blah photography days and should be constantly taking photos to improve, but the urge to pick up that camera isn’t there? Try shooting around the house in black and white.
For certain types of photography, black and white may allow you to take photos during times of the day where there’s more opportunity than color. I look at close-ups and portraits where the midday sun can result in blown out highlights and super high contrast lighting. Doesn’t that lend itself well to black & white? High key lighting with a fill flash and now you have blue hour, golden hour and midday covered. Technically, you could be shooting non-stop all day!
I was location scouting and found a wonderful area with waterfalls at around 2:00 p.m. On that particular day, there were harsh shadows, wildly high contrast lighting and worse, I failed to bring my ND filters or my polarizing filter. I went ahead and shot as many as I could with what I had. During image processing, I flipped a few over to black and white and the extra contrast lent itself perfectly. If you do location scouting, don’t let time of day discourage you. Take advantage of the location and take photos regardless. Get close to the ground and look up. Get up high. Finding that angle is what’s going to make that shot unique.
In the following shot, I went very low to the ground until there was no glare in the lens. It was still a very high contrast color photo with some blown out highlights, but with some ND filters to get my shutter speed down and applying an HDR preset, I ended up with a nice monochrome photo. The black & white photo created a very different, moodier atmosphere.
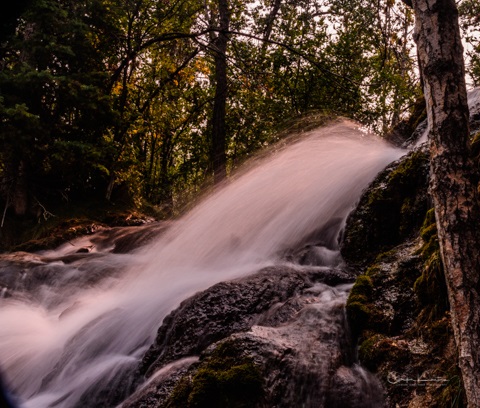
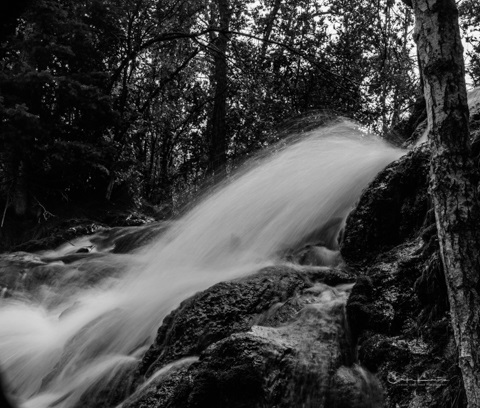
Images: Gordon Kamitomo Photography
4. Shooting in Black and White
If there were ever lessons to be learned about shooting in black and white, they came from the 35mm film days. In the days of yesteryear, color film and color slides were expensive. Over and above the cost of film, we also had to pay for processing. From the color side of things, we had to make every shot count. Black and white film, on the other hand, was a fraction of the cost and with a little judicious saving, photographers set up a darkroom to save more. When you look at things in blacks, whites and grey tones & textures, it allows you to be more cognizant of exposure and light. That carries over to color and invites you to look closer at what you are taking a photograph of.
Technology has reached a point where the cost of shooting is minimal. Gone are the days when we were restricted to 12, 24, 36 exposures. Thanks to modern technology, we have the capacity to fire away at all times from many devices! Our prints are shown digitally on a number of screens and we have software and image viewers that allow unlimited editing.
I believe knowledge of the black and white medium is a key factor to improving one’s photography. Black and white can teach us a lot about exposure and that knowledge carries over quite nicely to color photography. A wonderful way to learn is by shooting only black and white photographs. View your photos and then go back and re-shoot in color. You might be surprised at how much more you see! If you do this, it’ll get you into the habit of visualizing the subject matter in black and white before taking the shot in color. What will become immediately apparent is the how much the content takes on a different meaning.
Images: Gordon Kamitomo Photography
5. Processing to Black and White Photographs
If you start with a good base image, the post processing stage can be very minimal. After I import a RAW color image, I crop, apply base presets, convert to black and white, tweak exposure and export. Software like Adobe Photoshop and Lightroom have spectacular effects. I’ve also used Smart Photo Editor by Anthropics Technology to achieve some pretty neat effects too.
Experimenting with effects will nurture your artistic side.
Happy Shooting!