8 Key Tips for Better Close-Up Photography
by Gordon Kamitomo
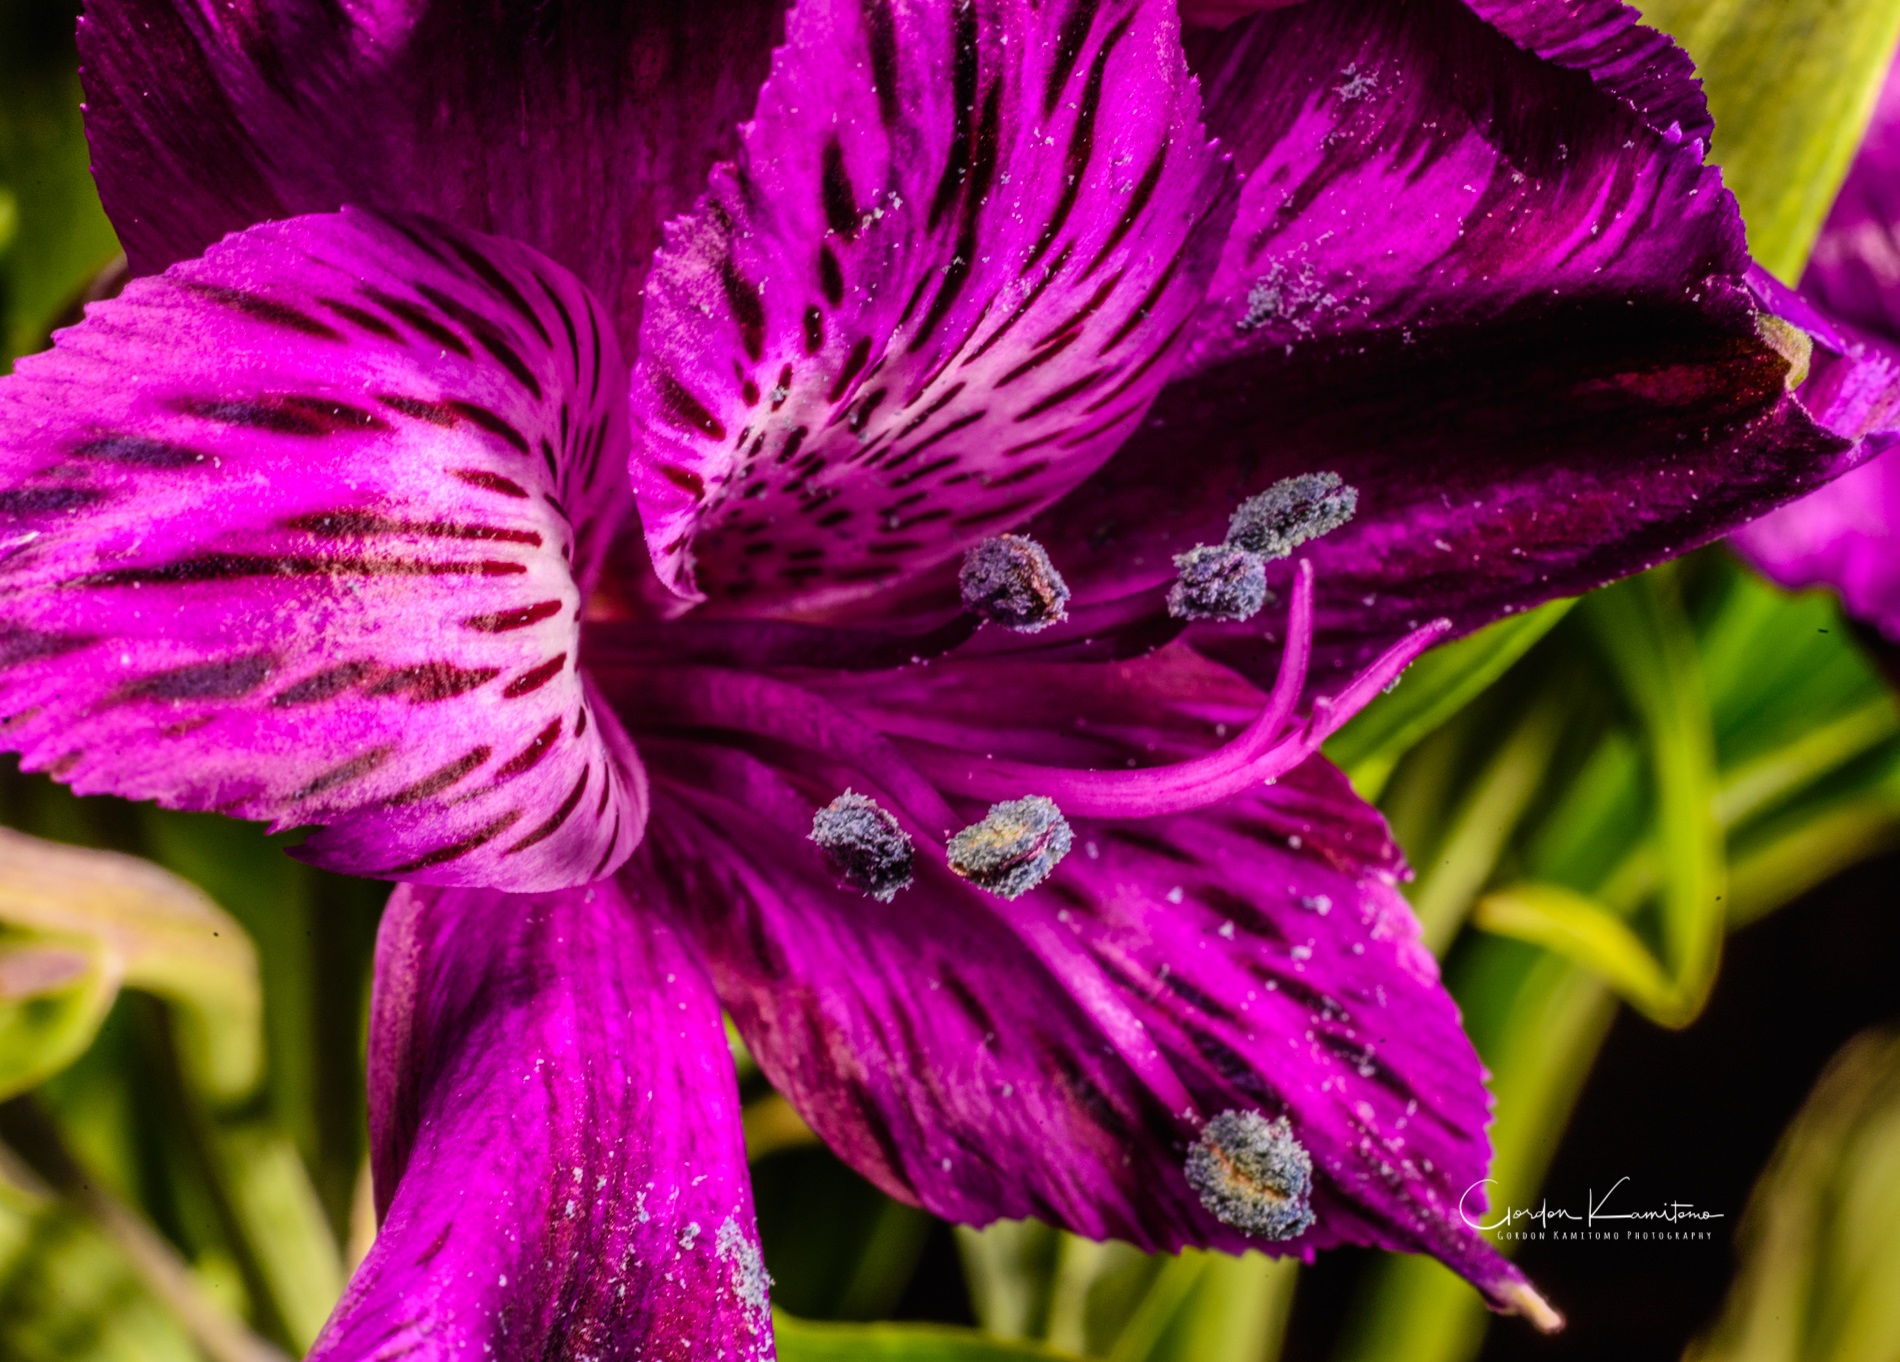
Image: Gordon Kamitomo Photography
Photography – In the Beginning
Photography as a hobby can grab you like a fever! And when you are ready to enhance your photography skills, thoughts about purchasing advanced camera equipment is inevitable, including the big jump into getting a DSLR, Mirrorless or a Micro Four Thirds. Some photography articles will discuss the importance of developing a favorite area in photography and becoming the absolute best in that particular space. Sound lofty? Absolutely, but that goal will allow you the mechanisms to learn, grow and get better as you develop a favorite area to photograph in whether it’s landscapes, portraits, wildlife, nature, or close-up work.
When you get that first camera with an interchangeable lens, you will think about adding accessories. Typically, a starter DSLR will come with a kit lens. When you are a new photographer, please don’t follow the advice about going to prime lenses because they’re sharper (they are, but not important at this stage!). It’s more important to get familiar with how your camera works. I also think it’s wise to remember when moving away from a less advanced camera, there will be a steep learning curve.
1. How to get Closer
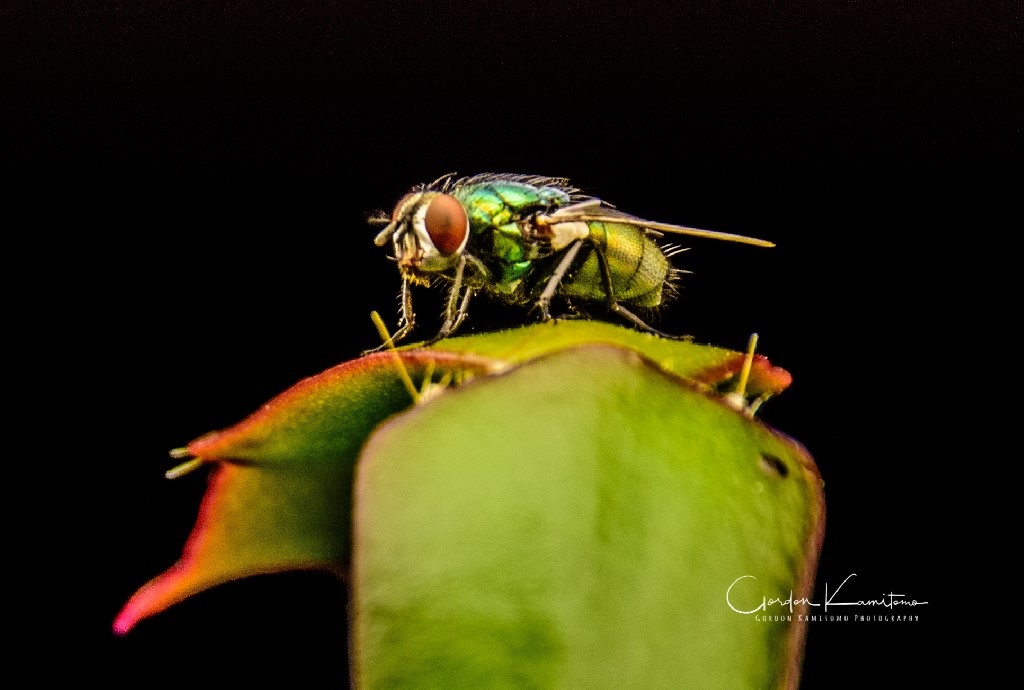
Image: Gordon Kamitomo Photography
There are a couple of ways to get a little closer than what your kit lens can do.
Firstly, you may find it advantageous to have a good tripod depending on the level of magnification. Aside from some of the basic accessories like spare cards, batteries, etc., I would recommend getting one. A hint here – you will be getting low to the ground and so getting one that has that functionality is important. If you are shooting on a sunny day, you can get away with hand holding, but this takes a lot of practice.
Secondly, it’s important to learn the various modes of your camera. The key is to remember the more magnification you want, the more shallow your depth of field becomes, so understanding things like Hyperfocal Distance (amount of photo that’s in focus), Aperture Priority and Manual Mode are quite critical to learn.
2. Zoom Lenses
A major advantage to using a zoom lens is less movement to fill your frame. I have two macro lenses for my Nikon D7100 and D7200. A Micro Nikkor 40mm f2.8 (60mm in full frame terms) and a Tamron 60mm f2.0 (90mm equivalent). Despite a prime lens having that extra level of sharpness, they aren’t as flexible as a zoom in certain situations. When I’m on location in a park, my Sigma 18-250mm w/macro gets me shots I couldn’t get with a prime. On the other hand, when I’m using a lightbox for certain types of photography, the prime is worth the setup time.
3. Lightboxes
You may also consider using a lightbox. You can DIY or purchase a commercial one. This is highly recommended if you are doing anything that resembles catalog work. Lightboxes can be surprisingly versatile as you can change backdrops and alter lighting to produce various effects, although typically the background needs to be pure white. Depending on end use, I’ve used everything from studio strobes to flash to continuous lighting to produce an image.
4. Close-up Lenses
These are like a magnifying glass that screw onto the filter threads of your lens. The advantages are not too much light loss and they are reasonable priced. Good ones are more expensive, but in the beginning stages it’s worth getting economical ones to experiment with. A kit lens tends to be less sharp at the edges and adding another piece of glass in front will only amplify that. You can get around this by using a smaller aperture like 4.5 or greater – typically f8.0 or f11/F16 will yield best results. Anything past that will start to introduce something called chromatic aberration (color separation) and software can only correct so much.
5. Extension Tubes
These are a series of tubes that fit between your camera and your lens. This is my favorite way to do close-ups next to using either the macro mode on my zoom or a dedicated macro lens. If you get the non-auto focus ones, they are relatively inexpensive. A note on the auto focus ones before I proceed – with close-up work, auto focus is pretty well useless in many instances. The camera will start to hunt for a focal point and in the event you are outside of the hyper focal distance range, you’ll end up setting up for manual focus. The biggest drawback with these is light loss. With the larger tubes it can be several f-stops and so you may end up going outside of being able to handhold. This is where a tripod becomes very handy.
6. Focusing Rail
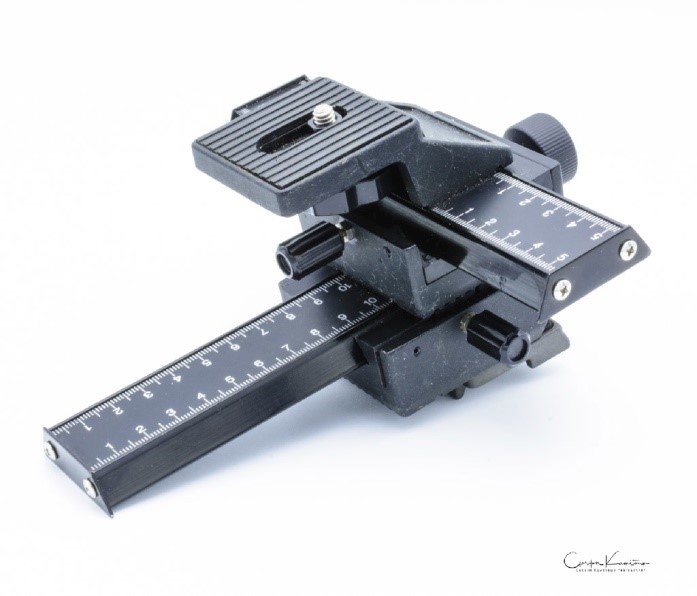
Image: Gordon Kamitomo Photography
When reaching higher magnification levels, you will find the need to make very minute adjustments even beyond what a zoom can provide. This is where a focusing rail comes in to play. I don’t recommend these right off the bat until you become more familiar in this space. I do a lot of product work and require very precise magnification levels so focusing becomes critical. A lot of my product work is shot in a lightbox, so certain products require the use of a focusing rail.
7. Electronic Flash
I like creating my own light. When outdoors, the sun or shadows don’t always cooperate and in the blink of an eye, the weather changes in Calgary. Sometimes there’s an opportunity for a great flower shot, but it’s either in the shade or partial sun exposure and there is no amount of image processing that’s going to give it that even light. That’s when a flash comes in handy. It could be as simple as a fill flash from my camera or it could be an external remote flash. I use both depending on what I encounter.
8. A Light Meter
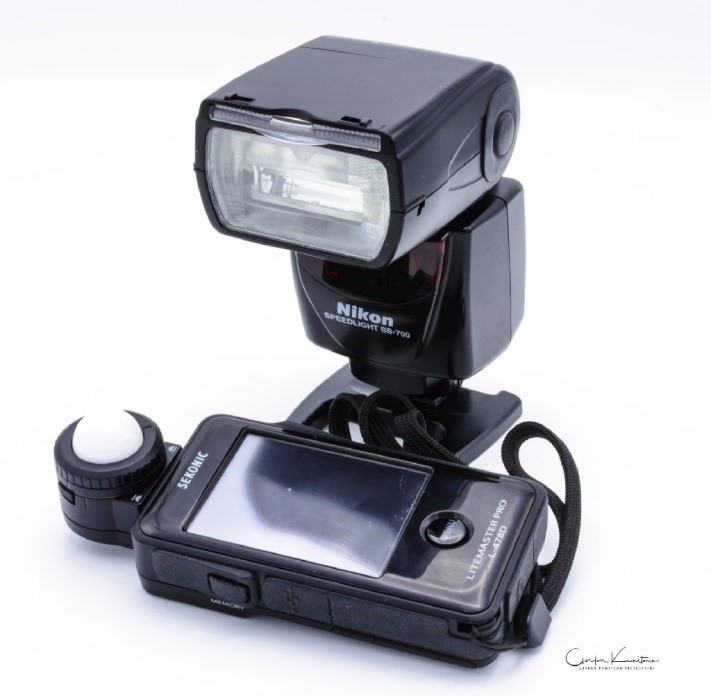
Image: Gordon Kamitomo Photography
The light meter in your camera works from reflected light. This light bounces off your subject and the meter/sensor in your camera will adjust the exposure accordingly. Ever notice there are several meter settings on your camera? If your camera sensor picks up the wrong area of your subject, it’s going to show an image that may be not what you are expecting. It could be either overexposed (too light) or underexposed (dark spots or just too dark). Granted, today’s sensors are actually very good and the more advanced ones can detect up to 150+ points on the sensor, but most entry level DSLR’s won’t have anywhere near that. The other type of light is called incident light, or the light falling on a subject. This is getting to a more serious amateur/pro level side, but still good to know if you are doing a sequence and you need consistent exposure. Setting your camera up manually for exposure is absolutely mandatory, but if your subject matter is consistent and you are metering at the same point, that’s the exception. From an image processing perspective, it’s one step less with little or no exposure correction.
Final Thoughts
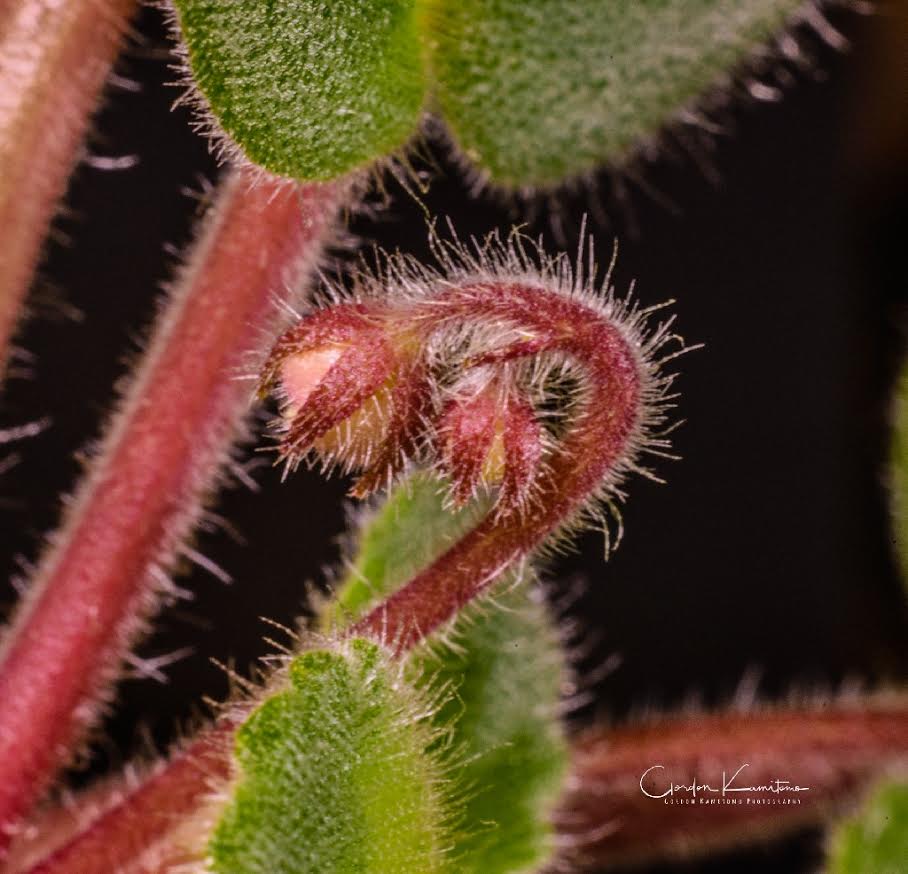
Image: Gordon Kamitomo Photography
Close-up photography presents a rather interesting opportunity to learn about lighting. The techniques I’ve covered can also be used in portraiture since the base techniques are very similar. The great thing about doing close-up work is that you can take photographs year-round.
Happy Shooting!