Tips on How to use Props for Photography Close-ups
by Gordon Kamitomo
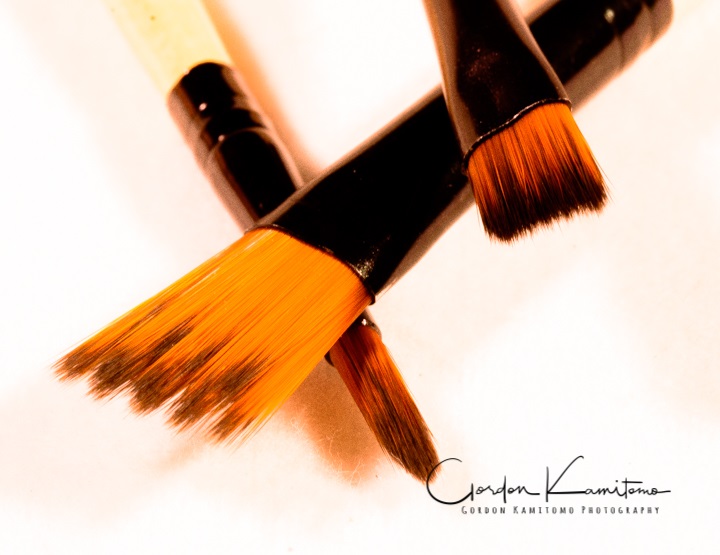
Image: Gordon Kamitomo Photography
Getting Creative with Photography Props
Every once in a while you hit on one of those scenarios where a little creativity is needed to pull off a great shot. Sometimes you can come close to tearing your hair out trying to prop up an object in order to stage a photograph. If you work with smaller objects, I’m sure you have encountered this frustration, so this post may save you some grief.
I do a lot of stuff in the area of close-up work. Mostly flowers, but more recently, I started to take photographs into the realm of light boxes for product work. Specifically to shoot paint brushes quite close up. Sure, you think, how hard could that be?
I wanted to take a different angle – one much lower and more importantly, the brushes needed props to hold them up. The big issue was how poorly it looked when sticking props underneath the sheet, plus it wouldn’t necessarily hold the brushes up.
After a fair amount of hunting for props and with no luck finding a solution, it dawned on me that perhaps it was time to build something that would fit the bill. A little cruisin’ on the ‘net trying to find ideas, and then I got one! What about modeling clay?
FIMO – Polymer Clay For Props
My initial thought was to find the modeling clay we played with as kids, but realized I wanted something more rigid. The brand name that immediately came to mind was FIMO. If you haven’t heard of this stuff, it’s modeling clay that is put in the oven to harden. It’s actually called polymer clay and very common in the hobby world. There are different FIMO brands that require various oven temperature, so be sure to read the instructions first.
Knowing this would take time to mold and heat in the oven, in the long haul it would save time and effort searching for make-shift props and set up. Off to Michaels art store I went to find polymer clay. This stuff is actually relatively cheap at around $3 CAD for a 2 oz block. One of those blocks can mold several small stands quite easily.
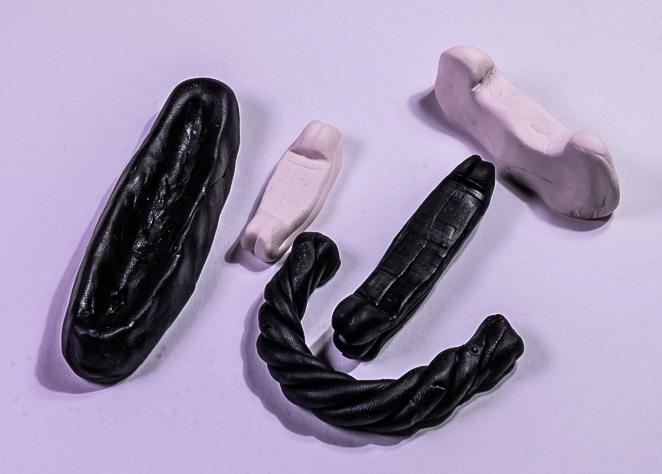
Image: Gordon Kamitomo Photography
This stuff is very easy to work with and you don’t need any tools. You can use a baking dish and they take about 15 minutes per ¼ inch of thickness and harden when cooled down. Both black and white polymer clay were used to fashion various sizes and shapes for upcoming photo projects.
Here’s How I Use Them
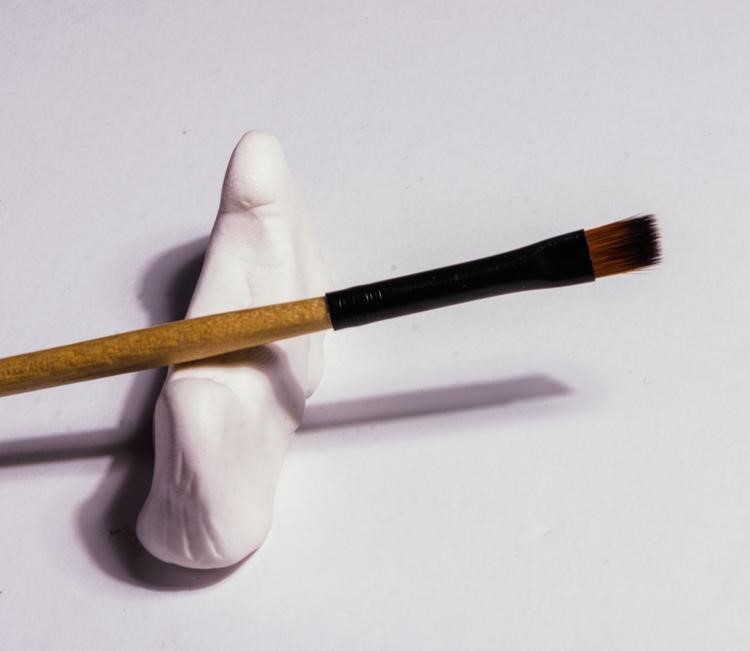
Image: Gordon Kamitomo Photography

Image: Gordon Kamitomo Photography
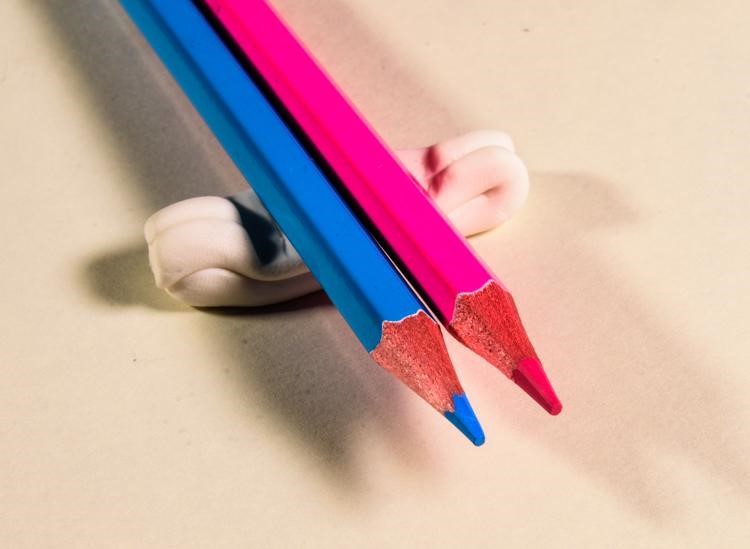
Image: Gordon Kamitomo Photography
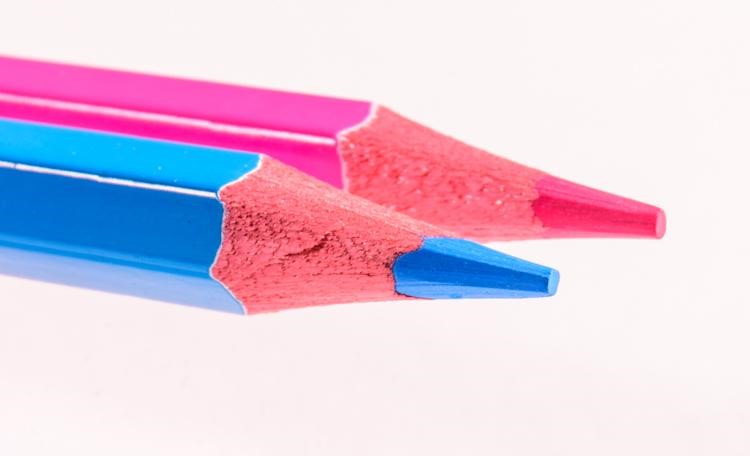
Image: Gordon Kamitomo Photography
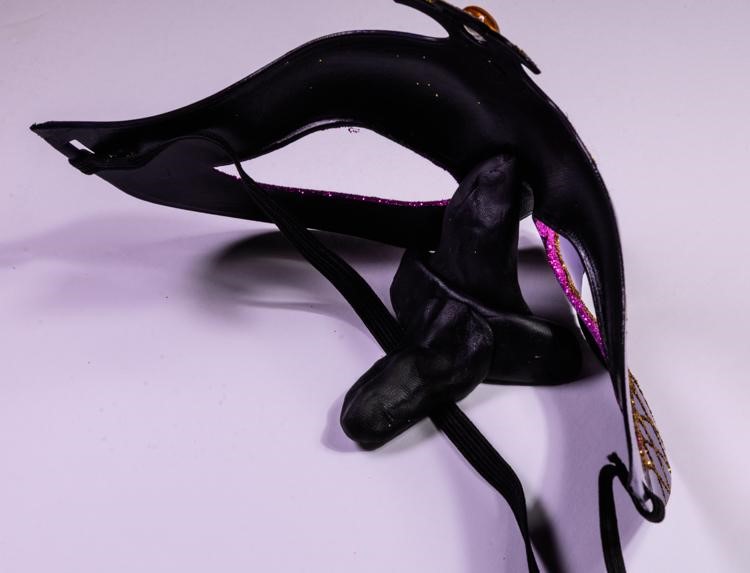
Image: Gordon Kamitomo Photography
Image: Gordon Kamitomo Photography
Just takes a little imagination to get the results you want. Happy creating!